Conversations
Effective communication is essential for successful hiring workflows. With the Conversations feature in Skima AI, recruiters can seamlessly connect, engage, and track candidate communication through Email and WhatsApp from a single centralized interface.
This guide walks you through setting up and using Conversations to manage candidate interactions more efficiently without switching between multiple platforms.
Setting Up Conversations
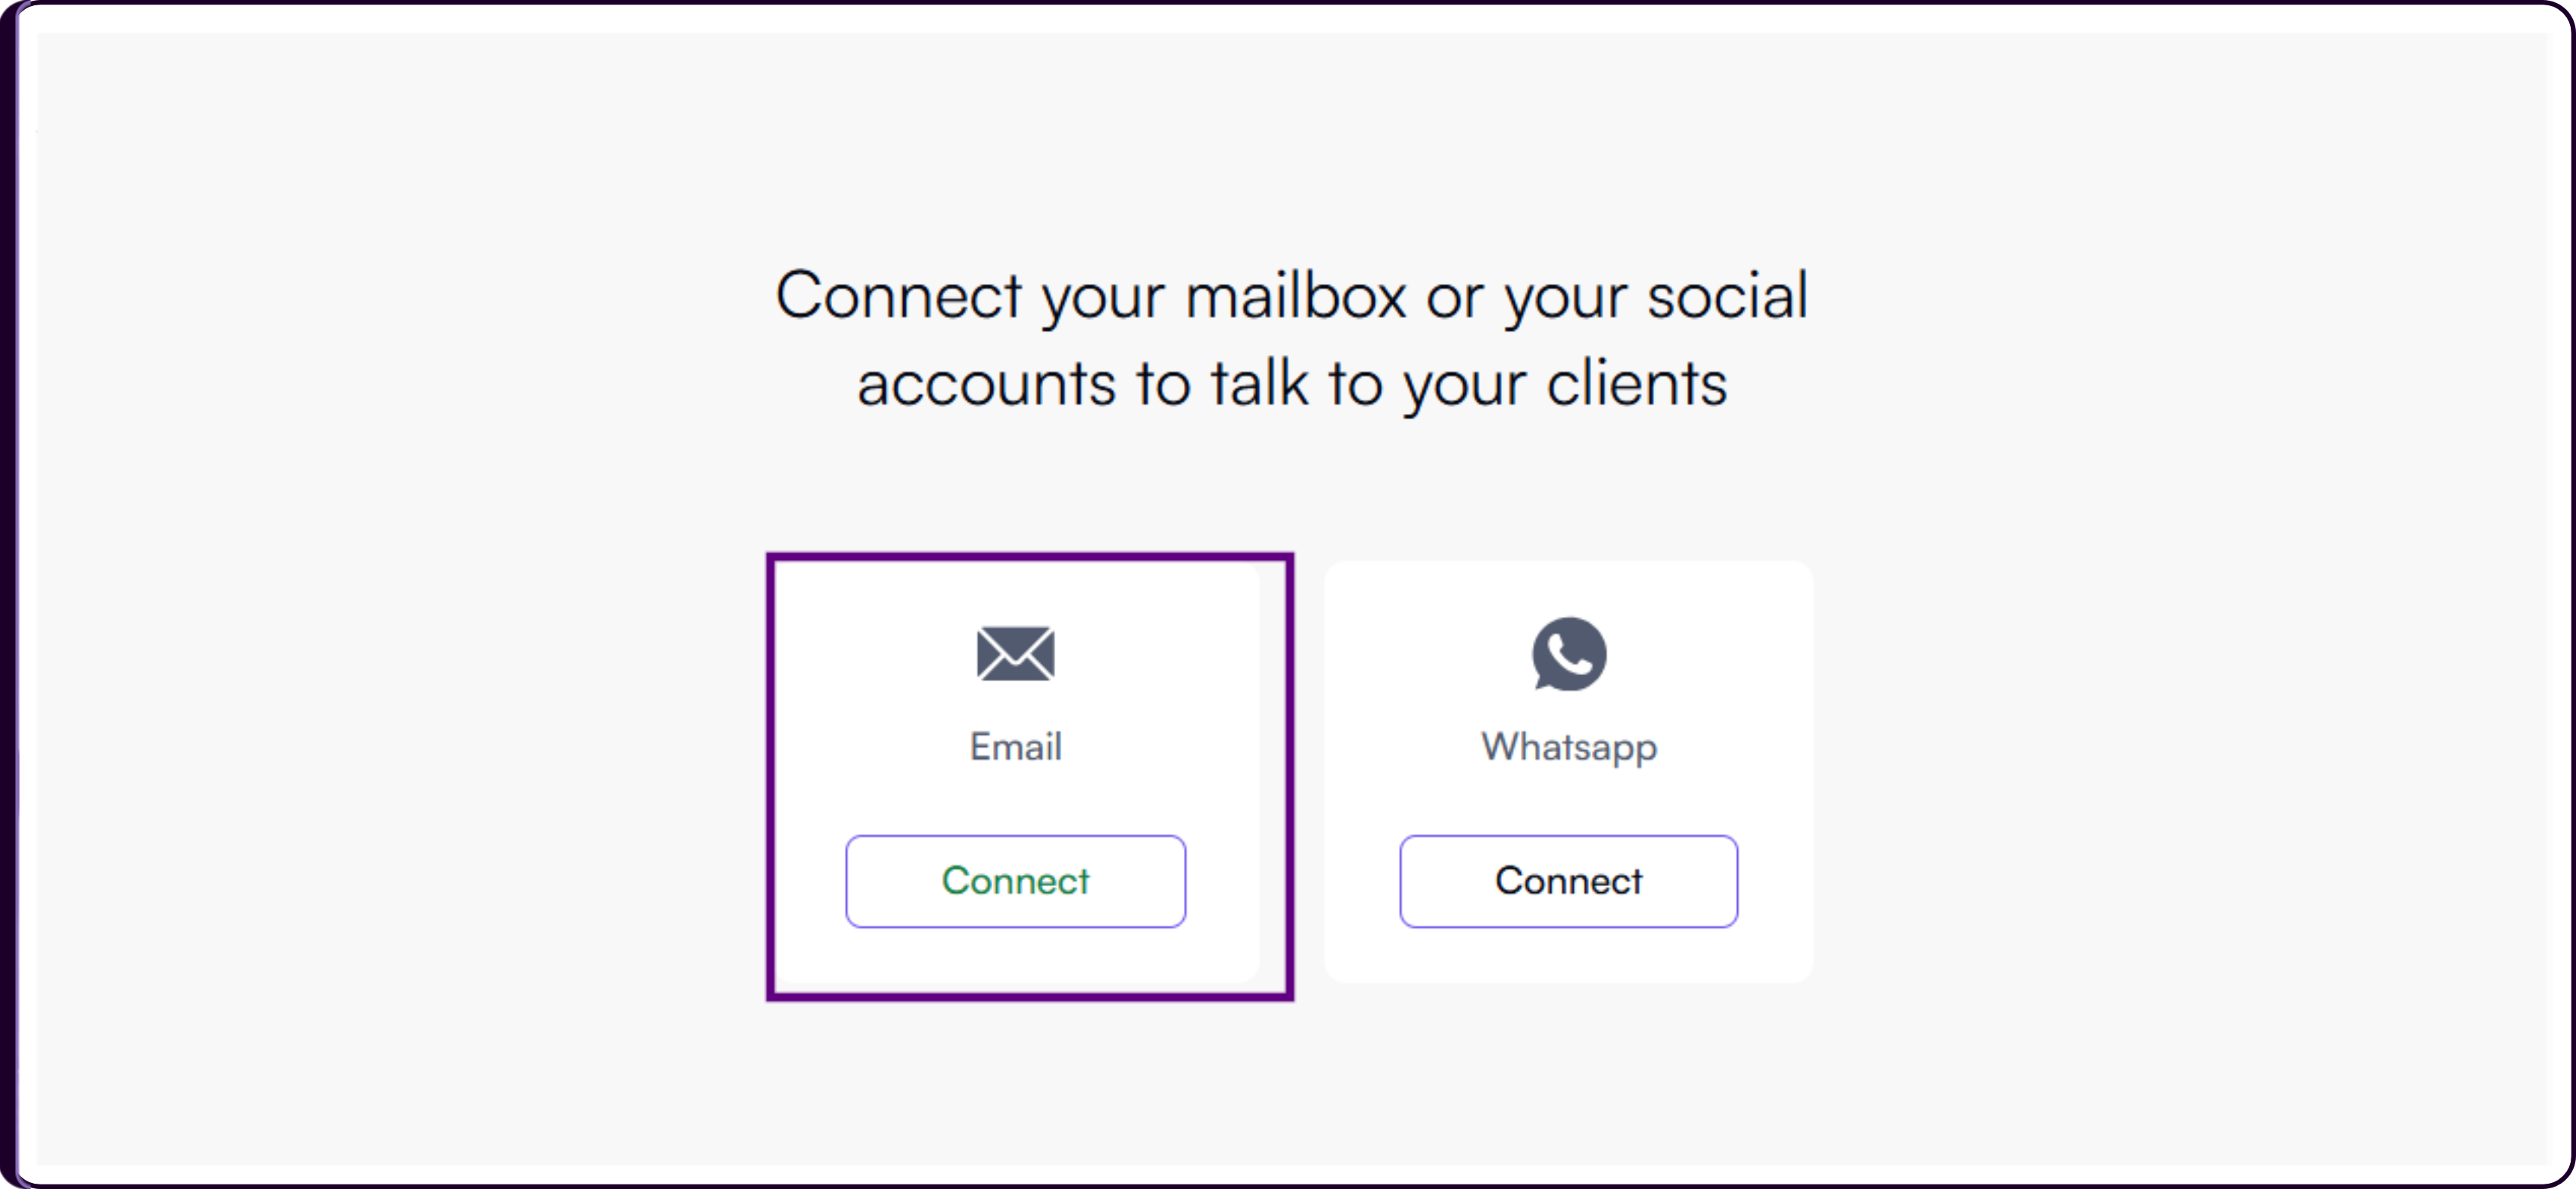
Before using Conversations, ensure your Email and WhatsApp accounts are connected with Skima AI.
Access Conversations
- Navigate to the 'Conversations' tab from the Skima AI dashboard.
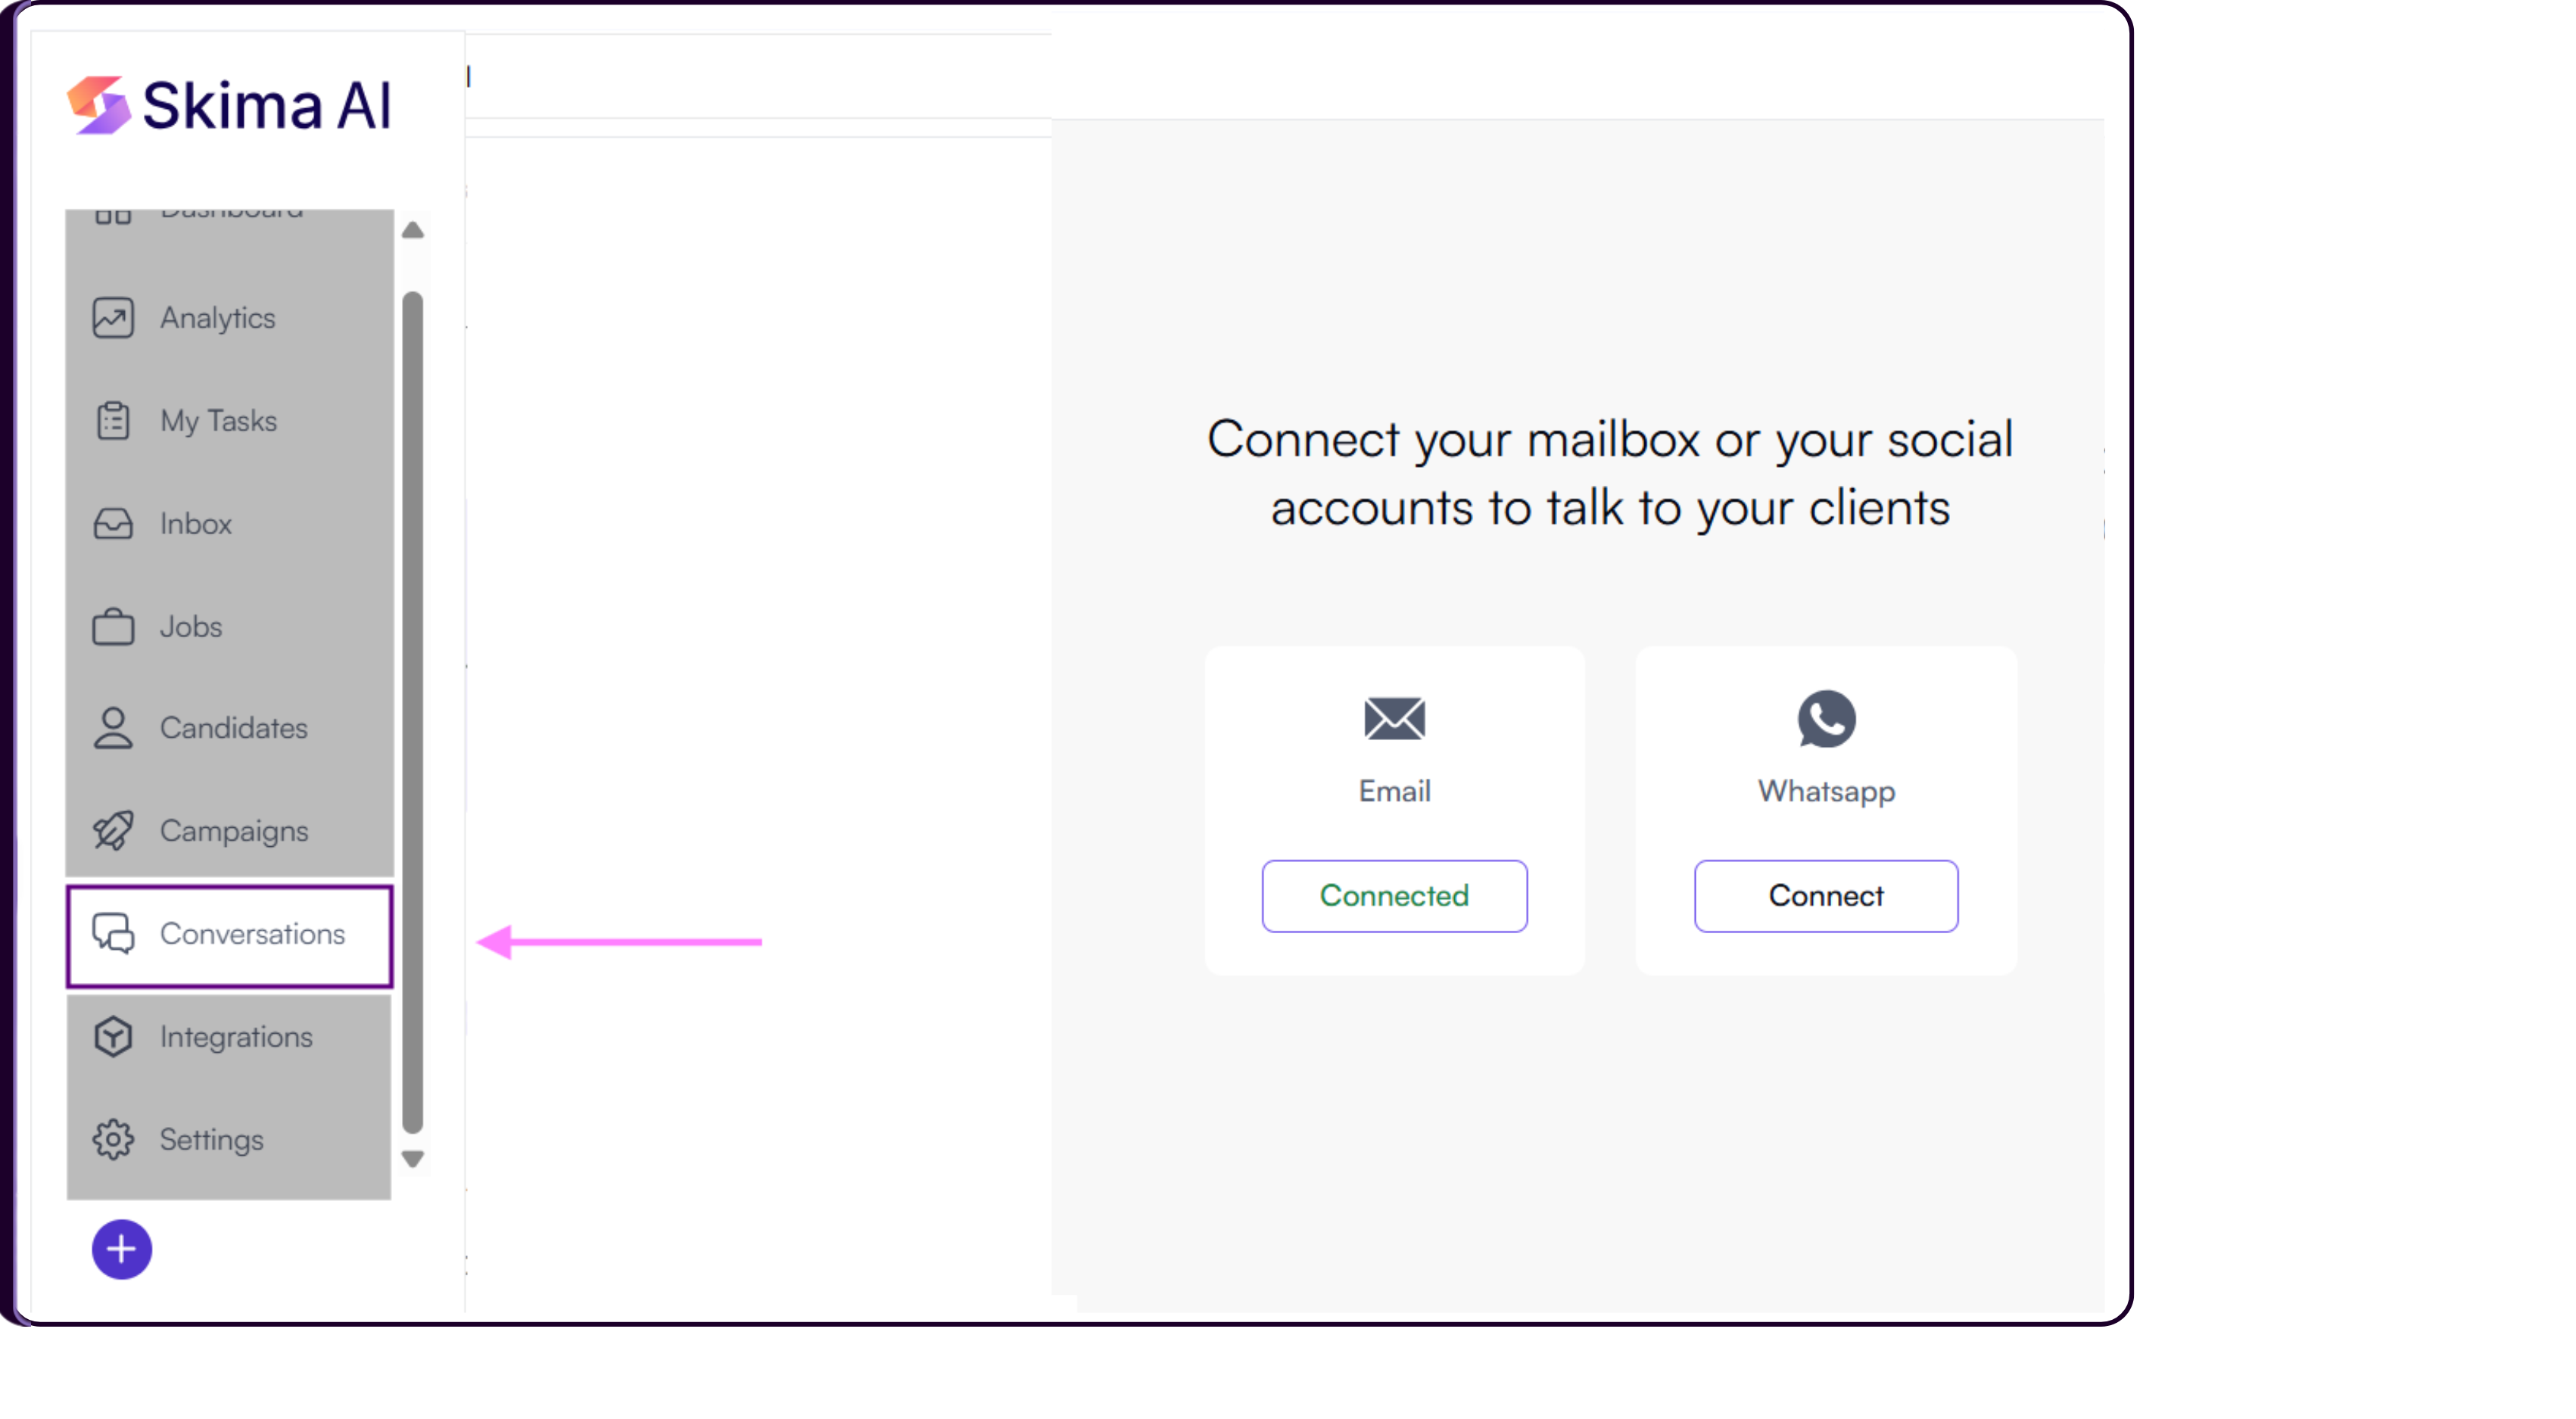
The Conversations dashboard displays: ongoing chats, candidate interactions, and conversation history.
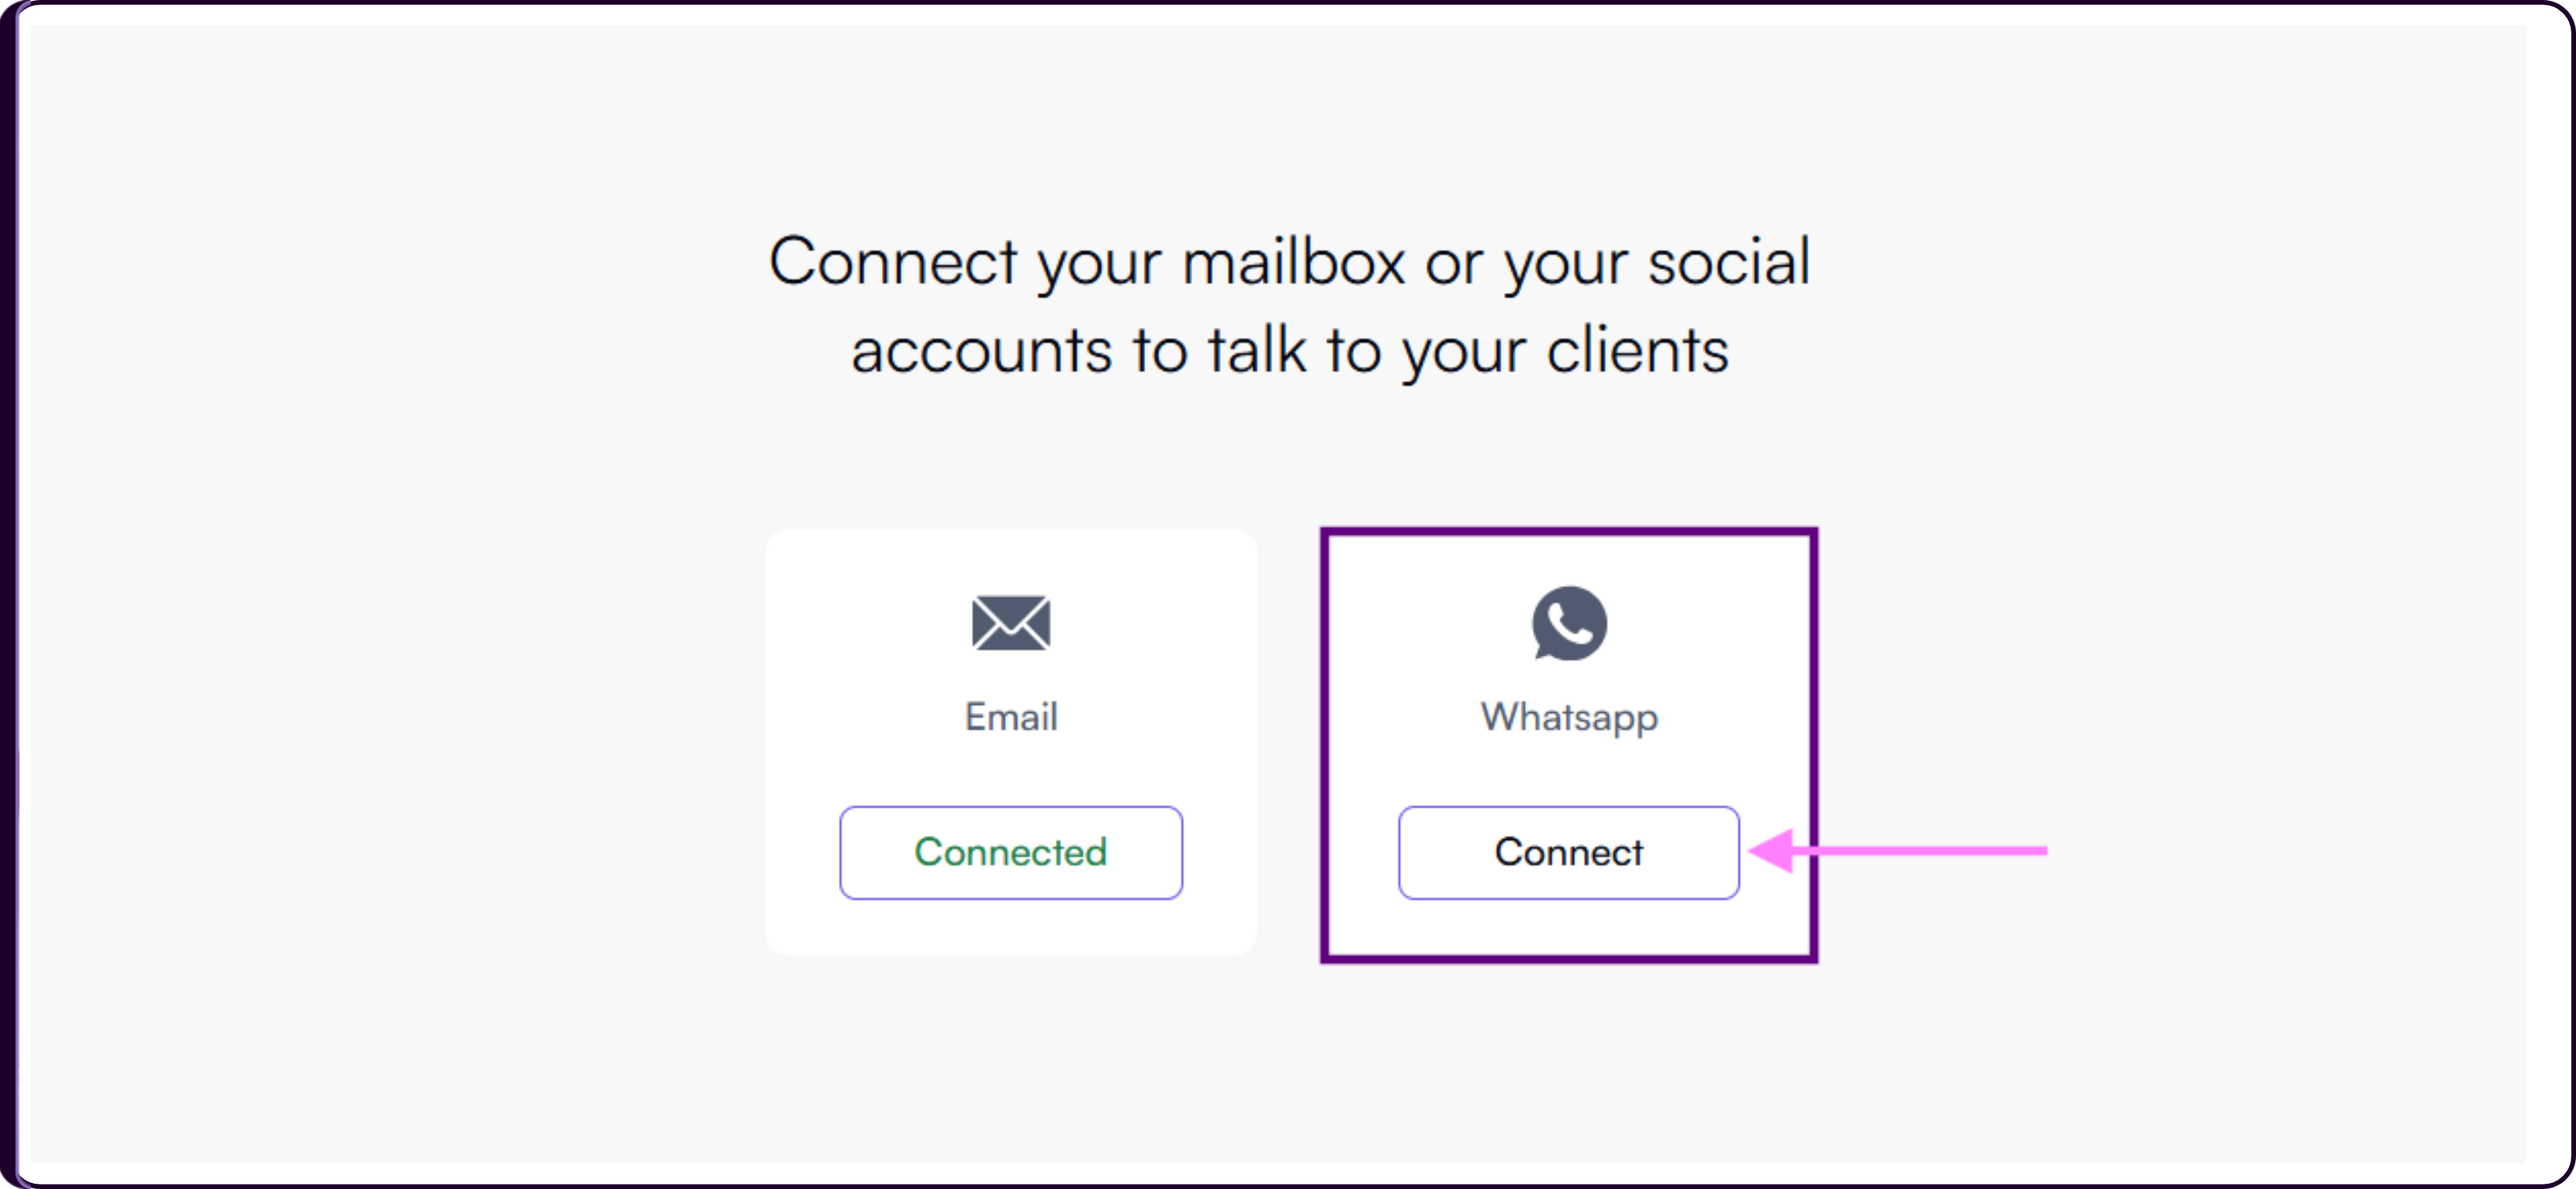
You will see two communication options:
- Email Integration
- WhatsApp Integration
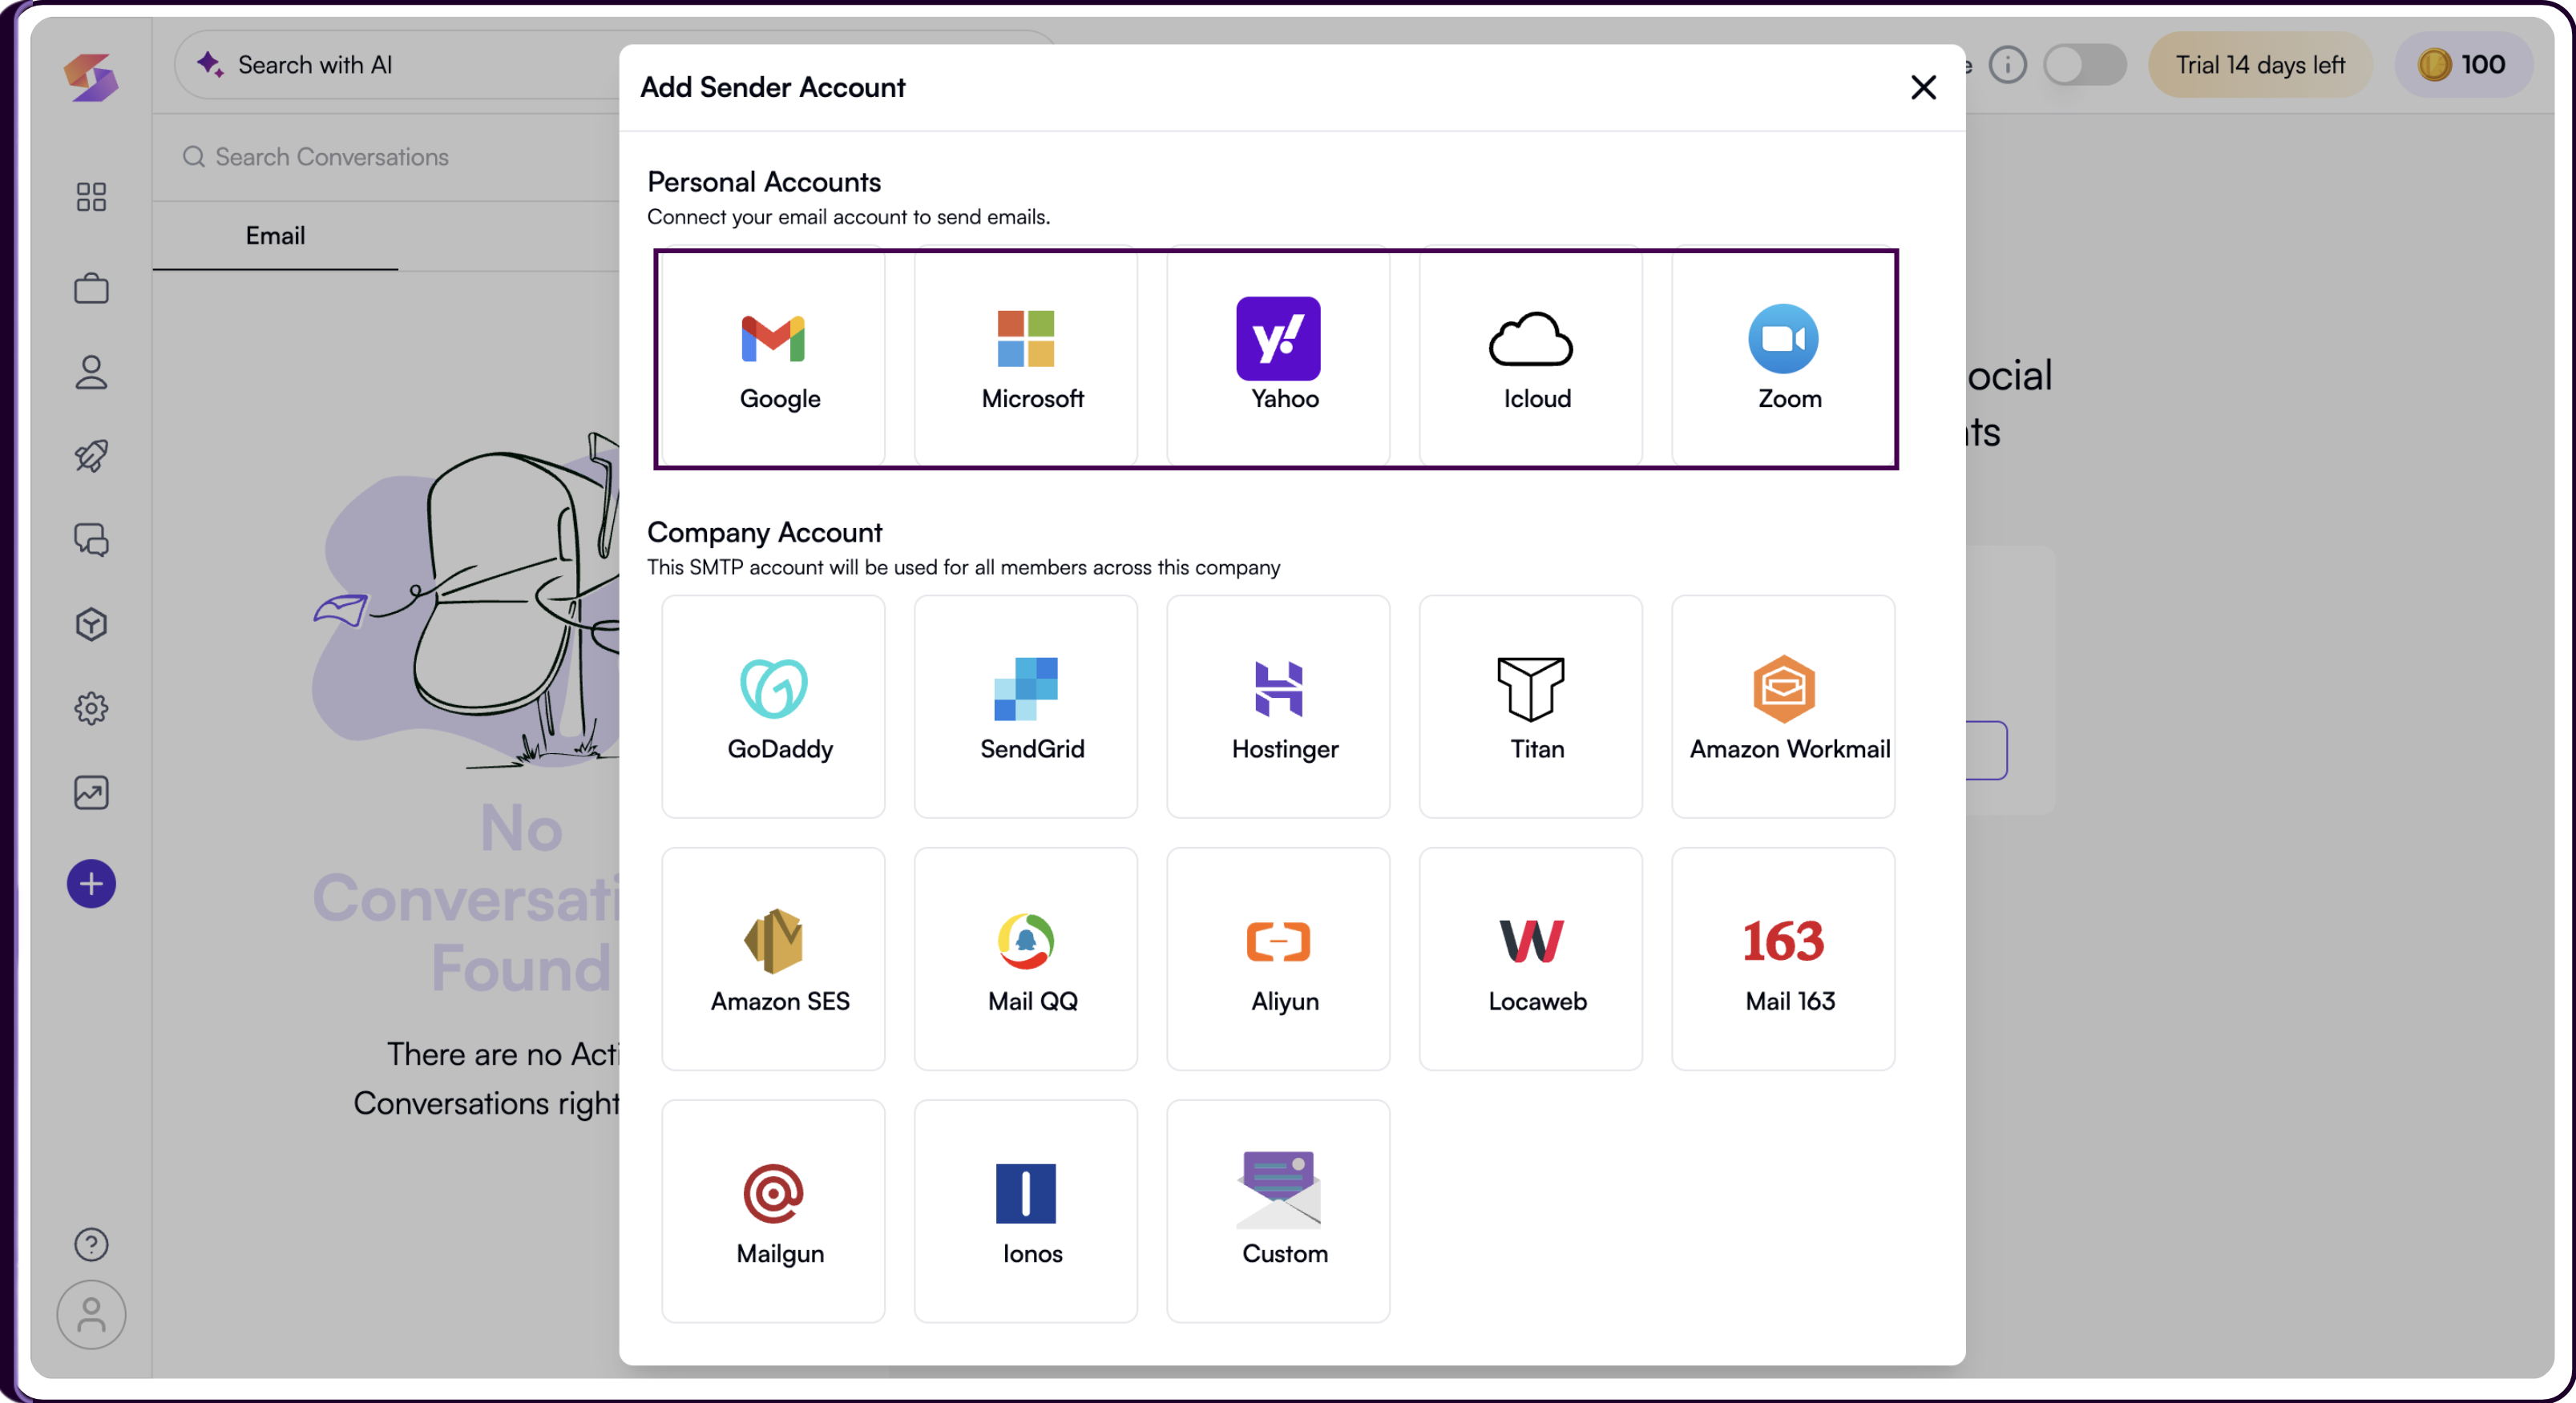
Connecting Email
- Click on 'Connect Email' inside the Conversations section.
Select your preferred email provider such as: (Gmail, Outlook or Other supported providers)
Sign in using your account credentials and approve the required permissions.
- Once connected, candidate emails from campaigns and outreach workflows will start appearing directly inside the Conversations dashboard.
Setting Up WhatsApp
WhatsApp integration allows recruiters to communicate with candidates directly through WhatsApp using the WhatsApp Business API, helping teams manage outreach and candidate responses directly inside Skima AI.
Before starting the setup, ensure you have access to a valid business phone number, a Meta Business account, and a personal Facebook account linked to your business email.
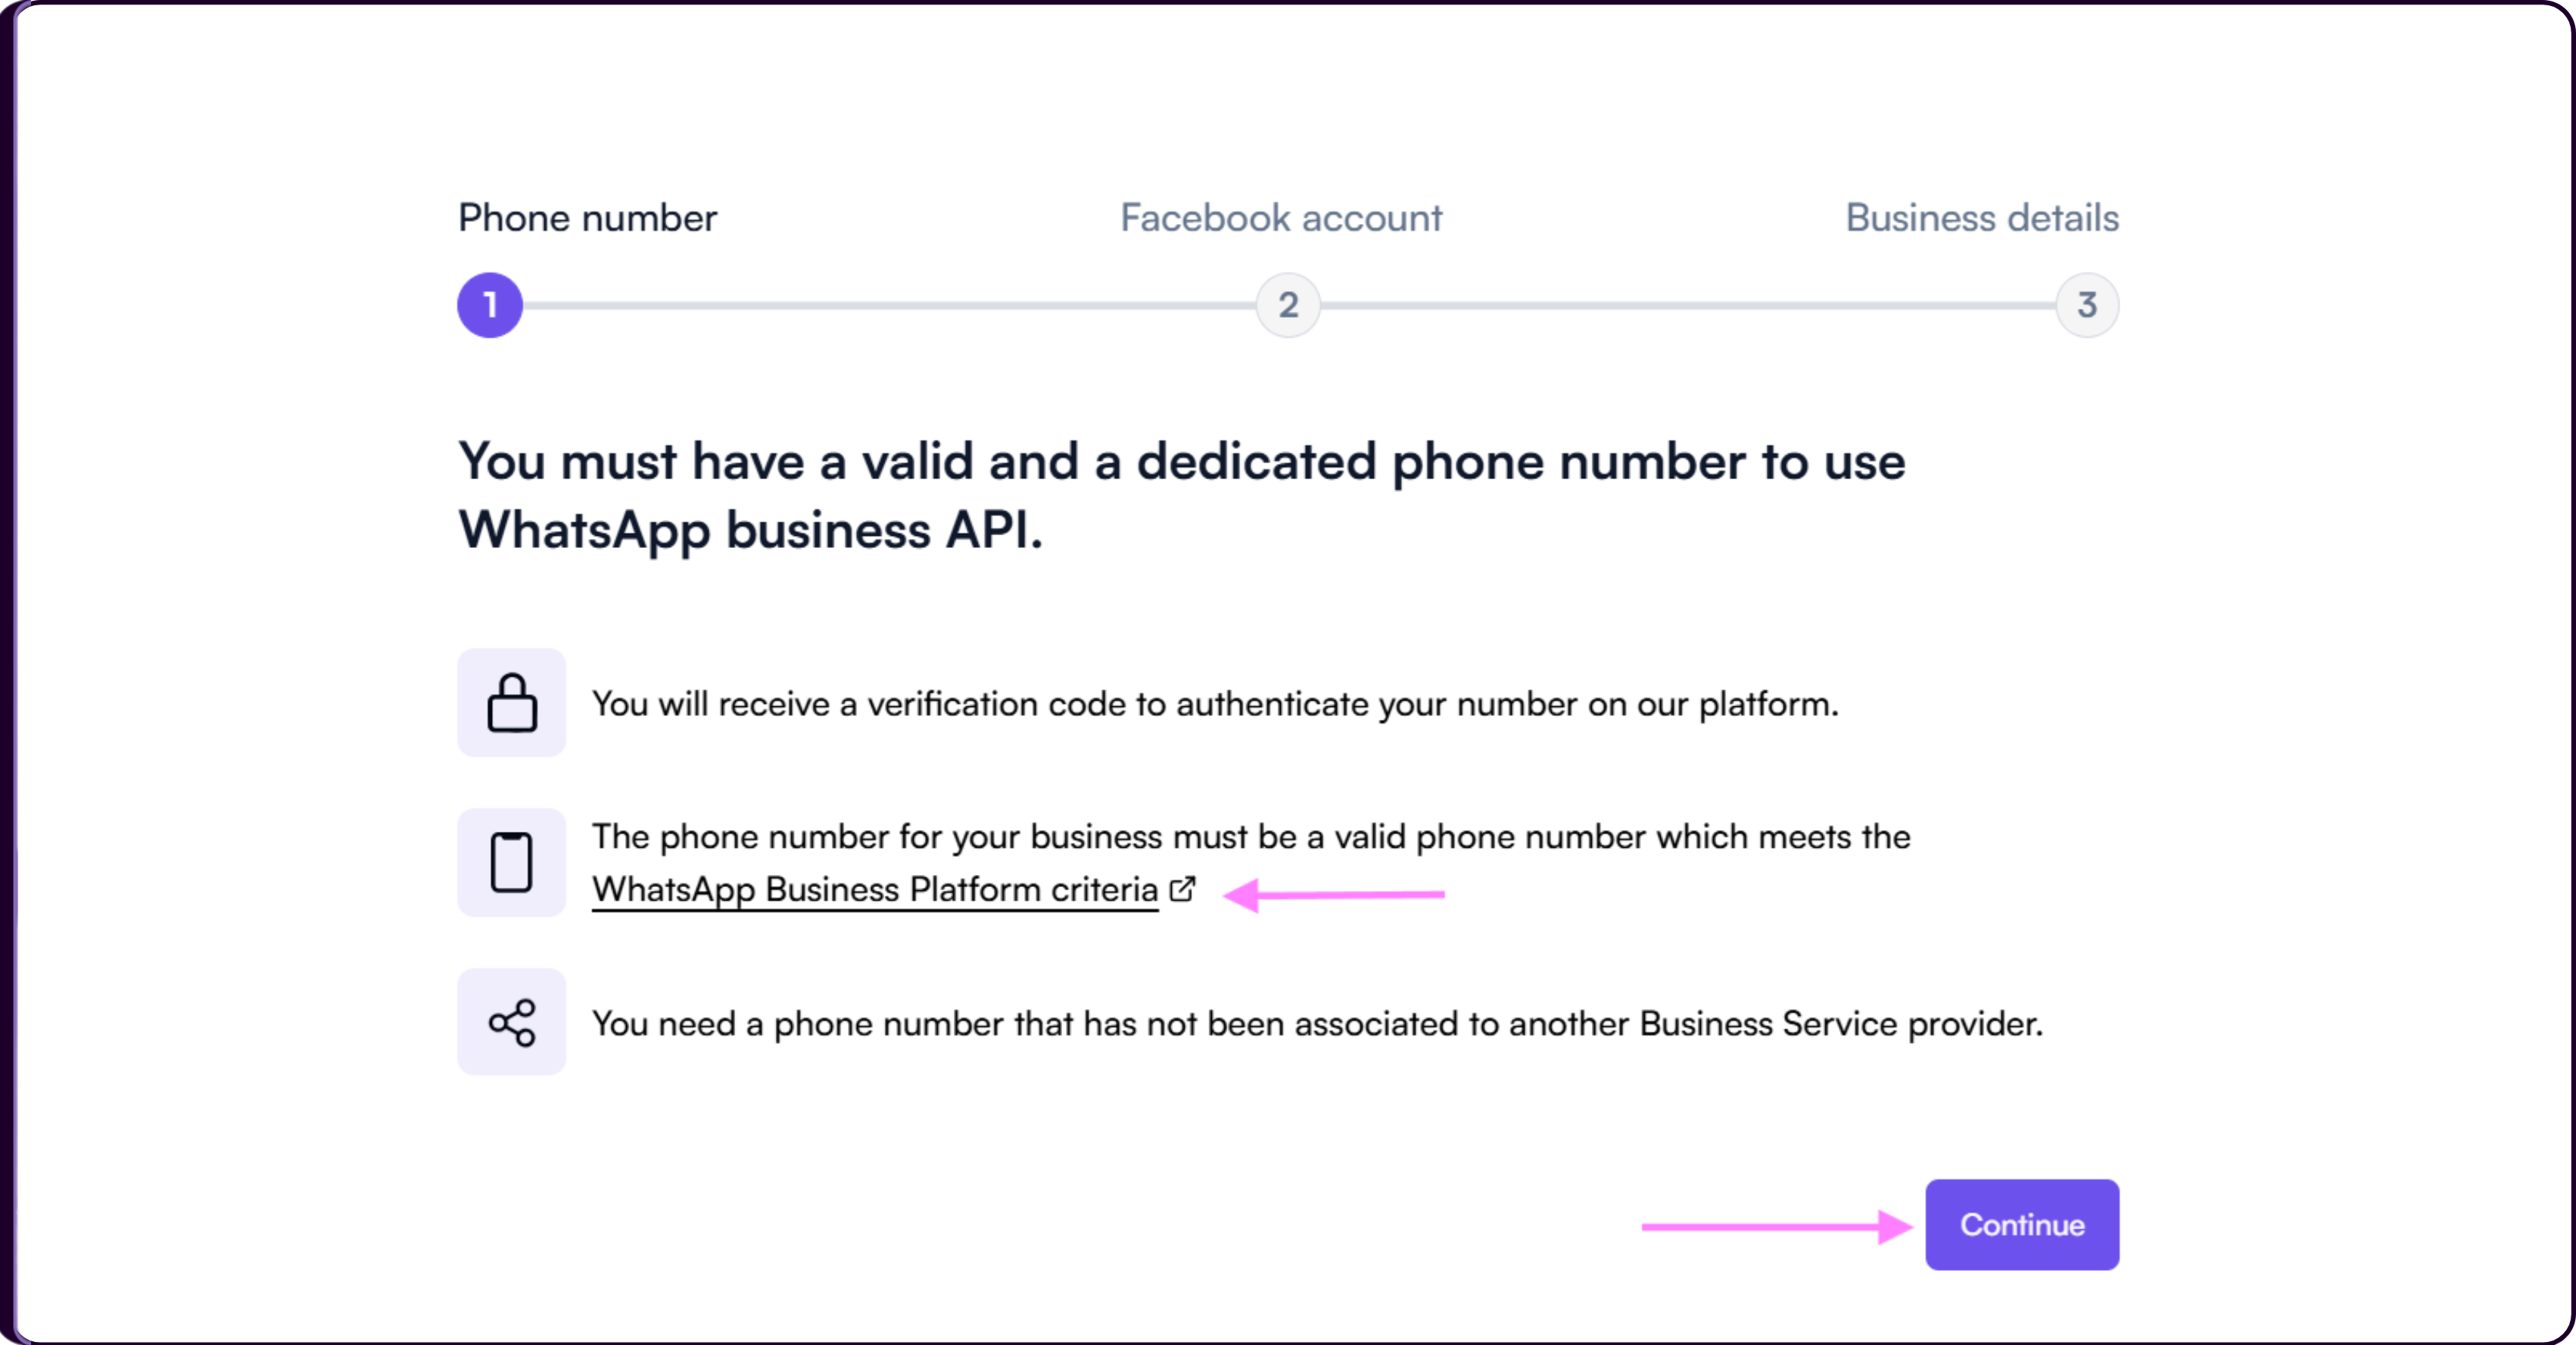
Step 1 - Business Phone Number Requirements
Before onboarding your WhatsApp account, Skima AI requires a valid and dedicated business phone number that meets WhatsApp Business Platform eligibility requirements.
The number should be active, accessible for verification, and must not already be connected to another Business Service Provider. During onboarding, WhatsApp will send a verification code to authenticate the number before it can be used for candidate communication inside Skima AI.
Step 2 - Authenticate Your Facebook Business Account
Before continuing, you must authenticate your Meta Business account.
Click on the provided authentication link and complete the Facebook Business login process in a separate tab. The Facebook account used during authentication should be linked to your business email and associated with the required Meta Business account.
During verification, Meta may ask you to generate a code using your authentication application. Enter the generated code into the verification field and confirm the request. Once authentication is completed successfully, you can close the tab and return to Skima AI to continue setup.

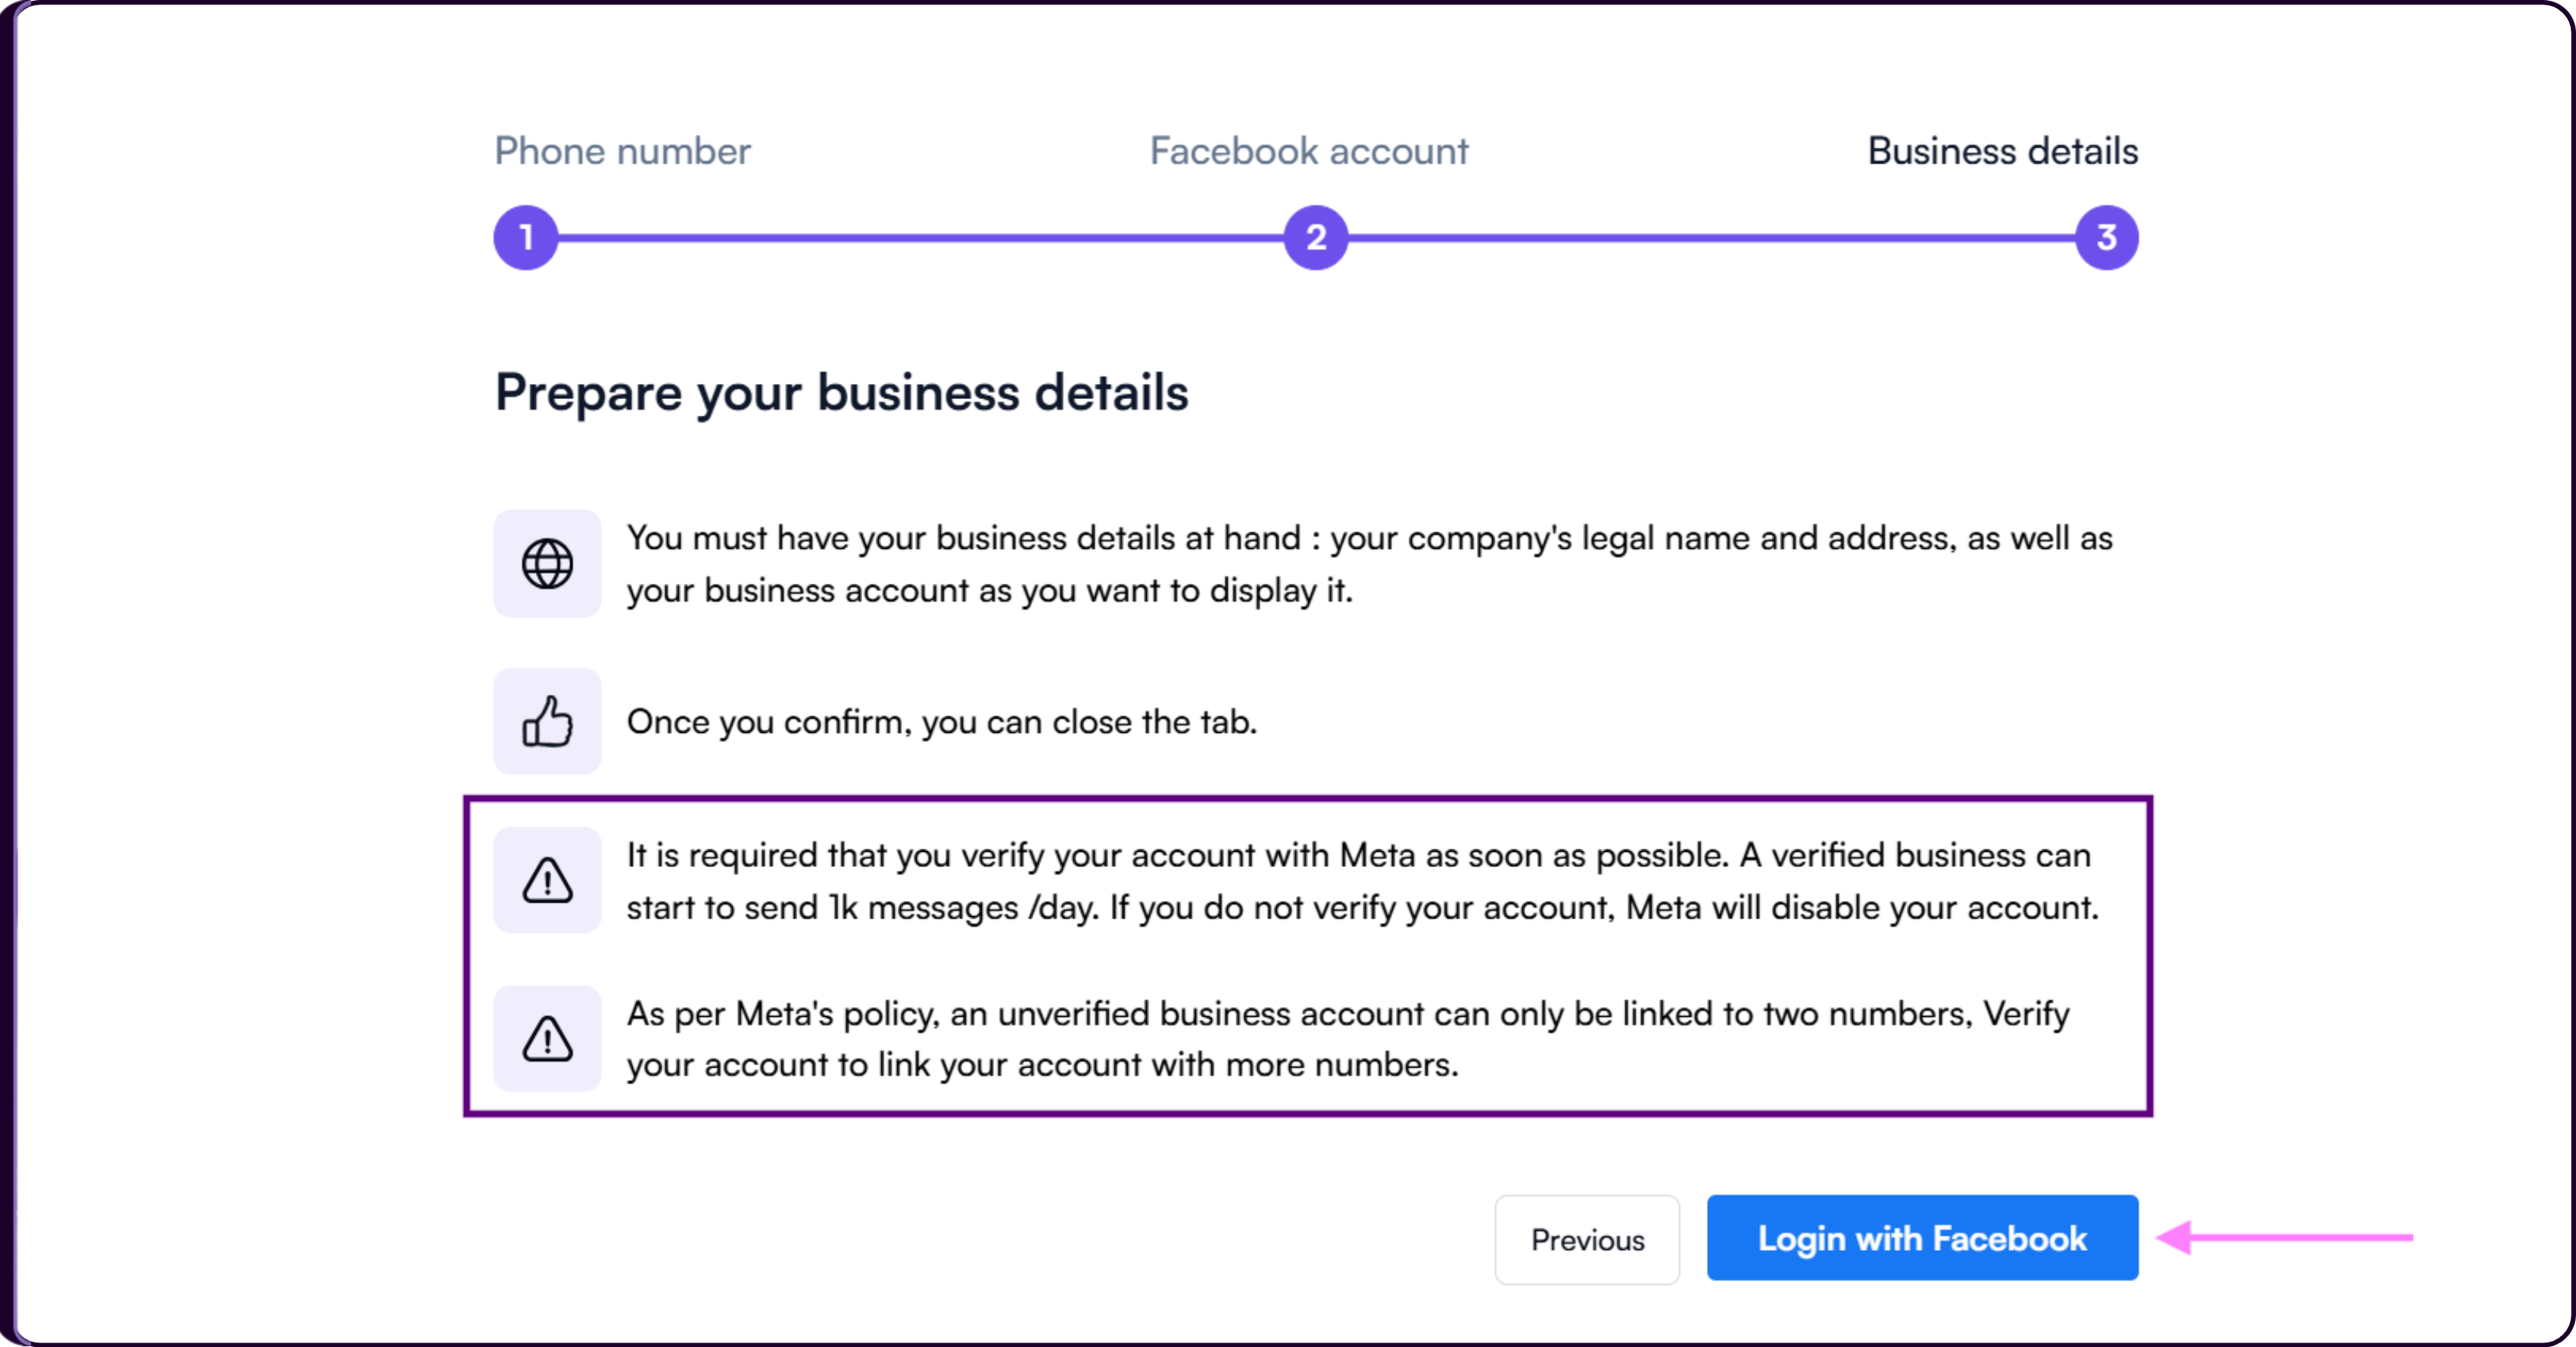
Step 3 - Prepare Business Details
Before completing onboarding, Meta requires your organization’s business information for verification and compliance purposes.
Keep your company’s legal business name, business address, and preferred business display name ready before proceeding. These details are used during the Meta onboarding and verification process.
Meta strongly recommends verifying your business account as early as possible. Verified businesses can send significantly higher message volumes, while unverified accounts may face messaging limitations or account restrictions over time.
As per Meta policy, unverified business accounts can only be linked to a limited number of phone numbers. Business verification helps unlock additional messaging capabilities and higher communication limits.
Once ready, click on 'Login with Facebook' to continue onboarding and approve the required permissions.
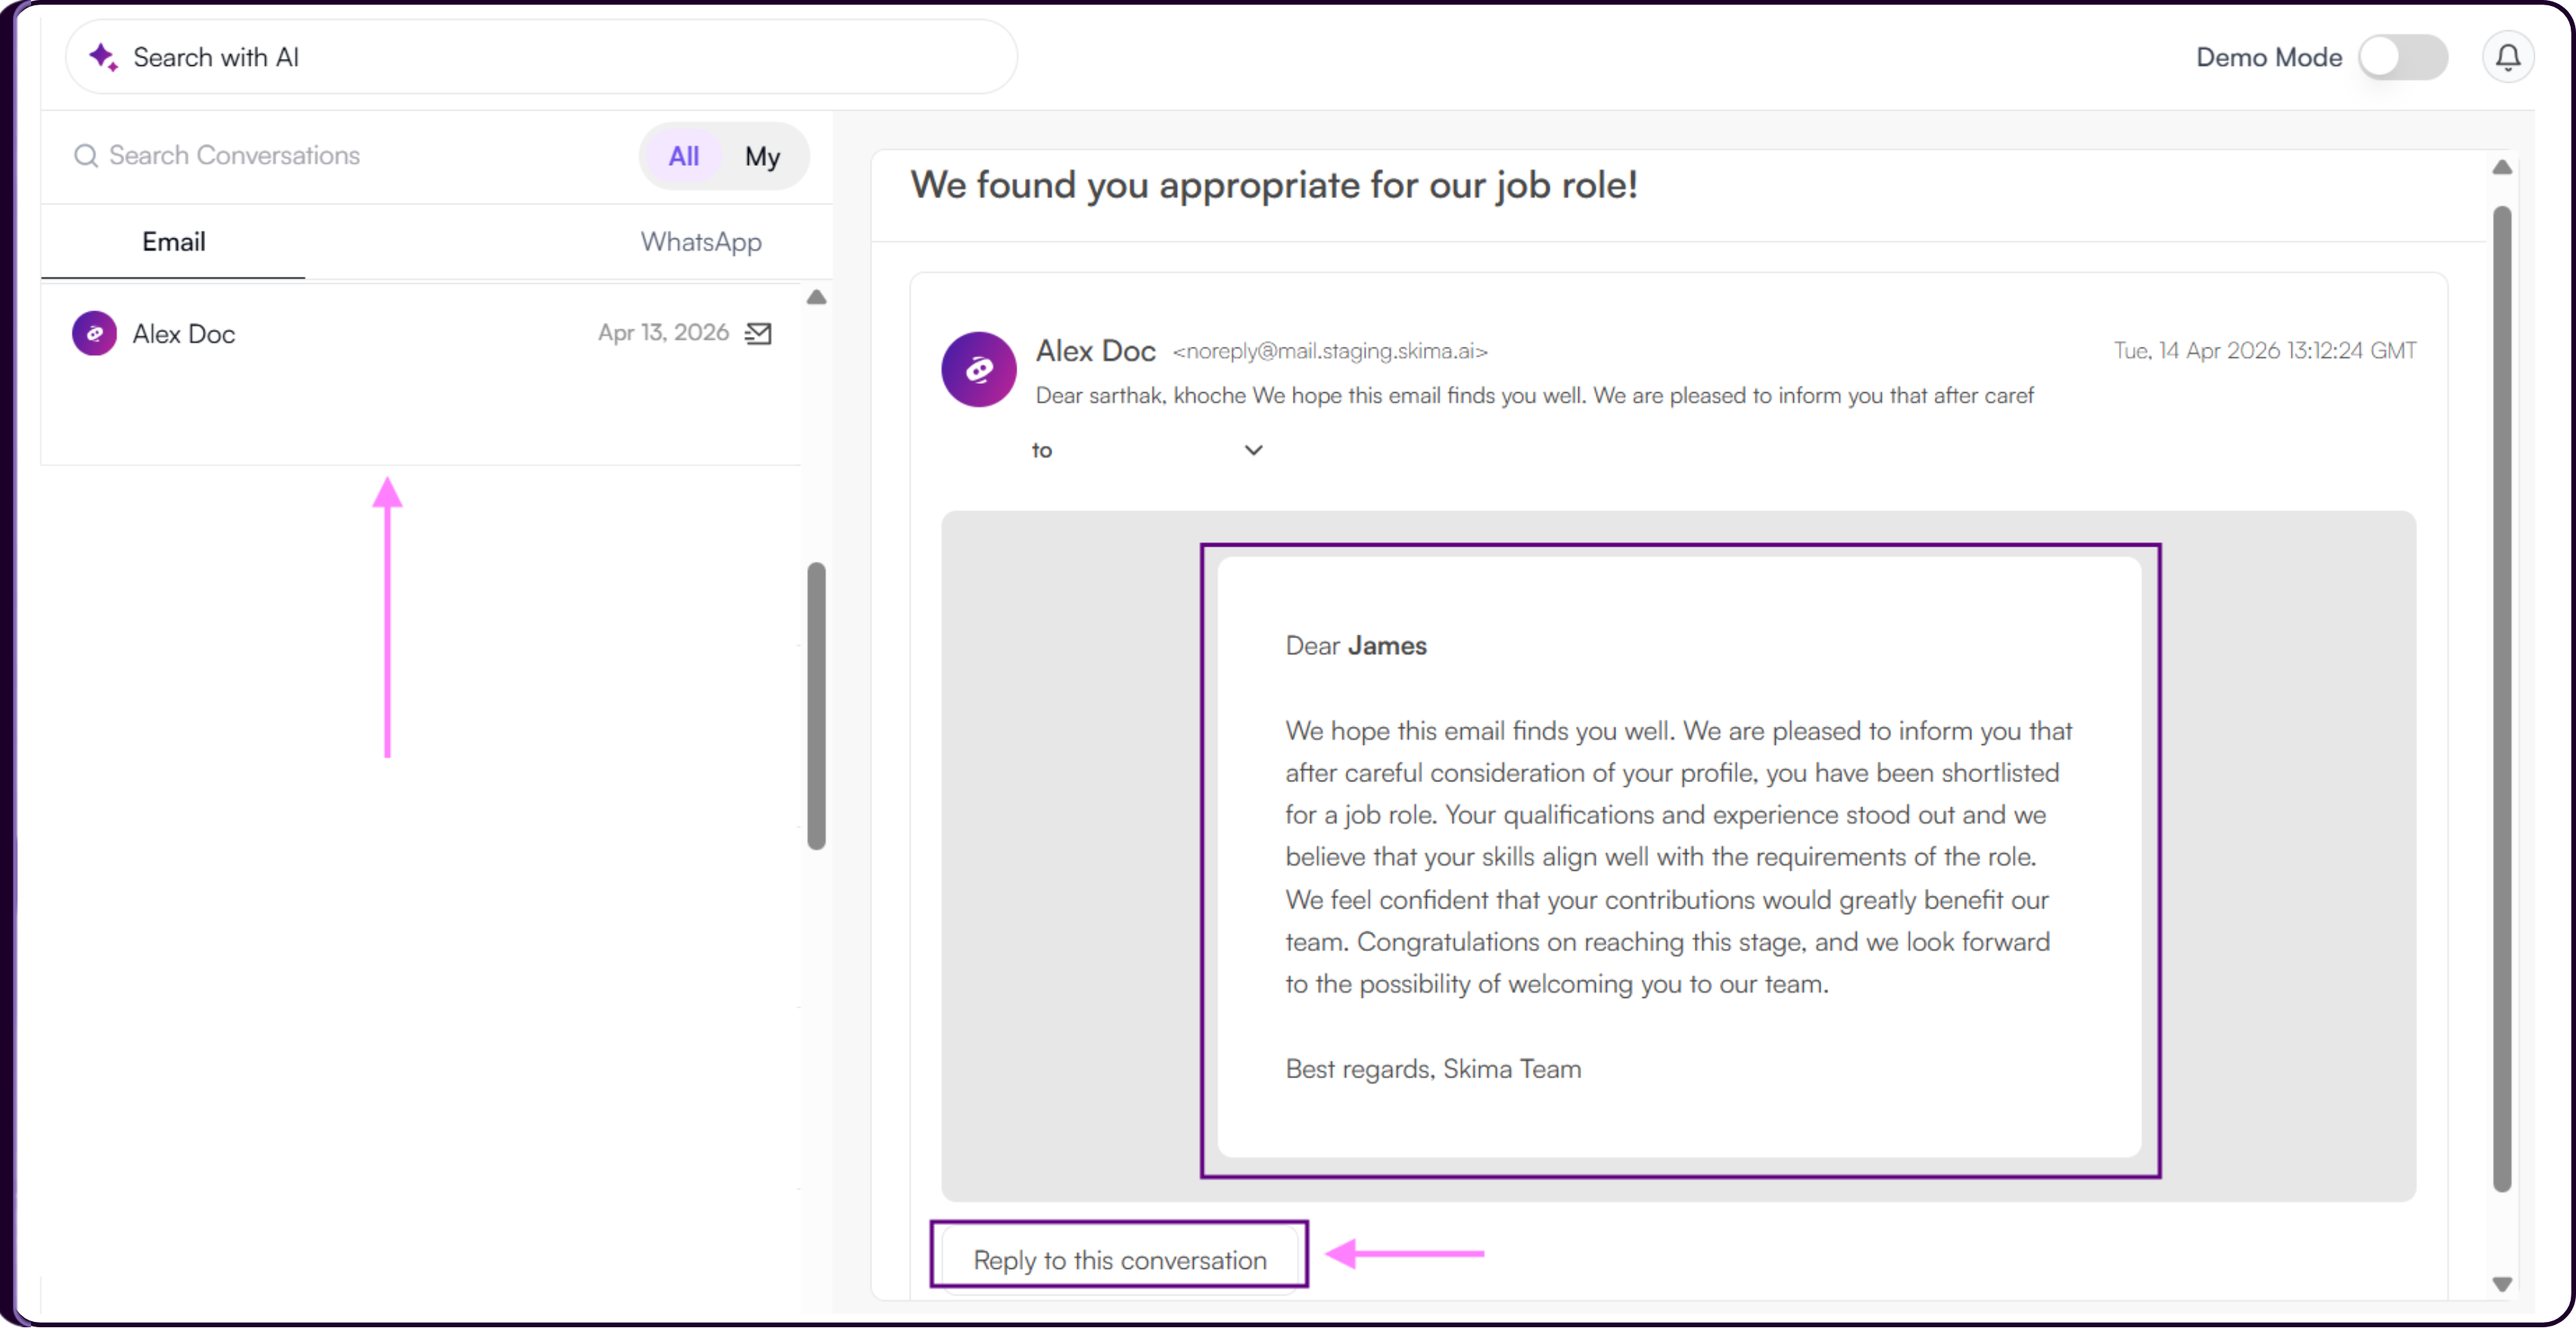
Managing WhatsApp Conversations
After sending communication through campaign, you can track replies and manage conversations in SKIMA AI.
- Go to the "Conversations" tab.
- View ongoing WhatsApp conversations.
- Respond to messages directly from the dashboard.
- If needed, schedule follow-up messages.